
Oh my do I have goodies to share with you! Today Taylored Expressions is releasing a BUNCH of new foiling goodies that are going to knock your socks off! I have four projects to share with you today using a bunch of the new products.
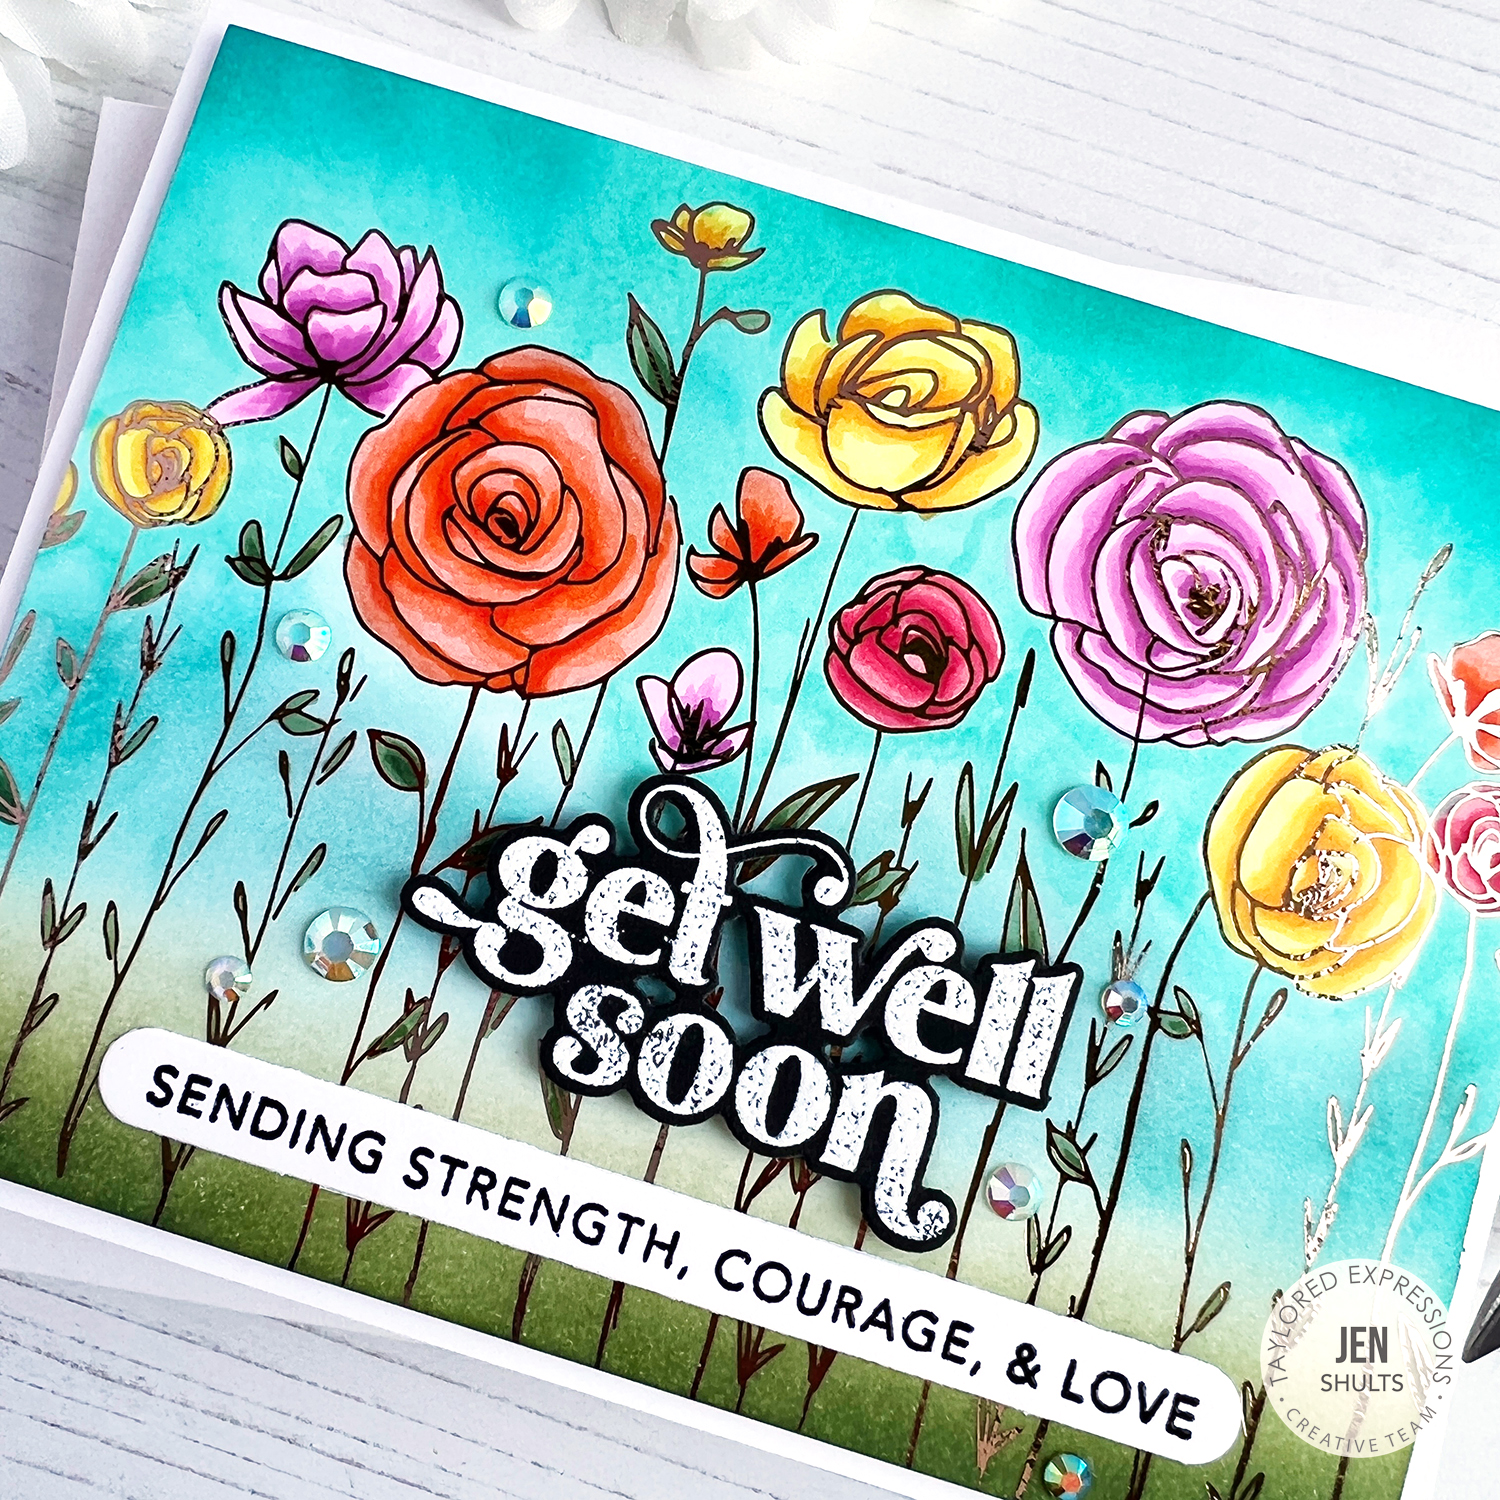
My first card uses Foil It – Wildflowers. This background is so pretty and versatile. I chose to color mine with Copic markers but you could just ink blend over the top after foiling or add color with another medium. I foiled my panel first with rose gold foil and then colored it with Copics. I did do a little ink blending at the bottom and then added markers around my flowers in the same color as the ink of the sky. After coloring this when together QUICK. I added a sentiment from On Occasion heat embossed in white on Oreo cardstock and a subsentiment from Simple Strips – Sympathy stamped on Sugar Cube with Oreo ink. I added a few Bits & Pieces Irridescent Rhinestones and the card was done!

|


My second card uses Foil It – Diamond Botanical. For this one I colored the panel first with Copics then foiled with gold foil. After removing the foil I decided to color the background a deep purple to go with the gold foil. I used a mix of Copics and Plum Punch ink. The sentiment was stamped on Poblano Pepper cardstock with Versamark and heat embossed with Gold embossing powder. I added a few Gold Drip Drops and my card was done.

|


My third card uses the Foil It – Piece of Cake set. This set comes with 4 different foil designs. I paired this up with the Piece of Cake Stencils to ink in the layers of the cake with Lollipop, Candy Corn, Lemon Meringue, Peapod, and Cookie Monster. I did my inking after foiling with Gold Shattered Glass Deco Foil. I turned this into a shaker by adding a shaker frame made from Stitched Frame Stacklets 1 and clear acetate. I added Snow Flurries sequins and some beads to the inside filling. After filling I attached it to an Oreo cardbase and added the sentiment from It’s Your Day.

|


Last but not least is a birthday card using Foil It – Balloon Party. I started by foiling with Shatter Glass Rainbow Deco Foil and then inking with the Balloon Party stencil and ink colors that matched the foil. I wanted to create a mailable card so I attached the panel flat to an Oreo cardbase then added a frame from A2 Thin Frame Cutting Plate with no foam tape. My sentiments are from Boho Hellos and Mini Strips – Birthday. I really love the Shattered Glass foils – I think they really make foiled elements have so much shine and shimmer!

|


Get Started with Foiling Kit:
Are you ready to start foiling, but don’t know where to begin? We have you covered with the Get Started with Foiling Kit. The kit includes:
- 3 rolls of Deco Foil (1 roll each of Gold, Amethyst Watercolor, and Rainbow Shattered)
- 4 oz. jar of Glitter Grab
- 2 stencils (Delightful Daisy and Floral Points)
- Deco Foil Toner Sheets pack
- Foil It – Paradise pack (12 panels)
- 1 Stencil Pal

Purchase of the Get Started with Foiling Kit gives you access to our virtual Intro to Foil Class taught by Susan Block. Susan will go through all of the basics with you to get you started with toner based foiling and foiling with our Glitter Grab using stencils!
Add on a Mini Minc machine to the Get Started with Foiling Kit for 10% off!
Offer valid while supplies last.