Hi everyone! I’m back with more cards using the Merry Blooms cardmaking kit from Taylored Expressions (I might have gotten a little carried away).

This card is the first card I made using the kit. I went all in on amping up the background to get a varied and unique card. To start the card I stamped the background stamp on Toffee cardstock using Sugar Cube ink. I stamped a couple of times to get a nice bright image. I heat set the ink with a heat gun and then used the TE Mini Ink Cubes to stamp the different parts of the background in different greens.

Next, I used the stencil from the kit to blend on Red Pepper and Mulled Wine ink to create a toned poinsettia. I splattered Sugar Cube ink mixed with water (from the re-inker mixed on an acrylic block). To finish I stamped the sentiment on Toffee using Versamark ink and head embossed with TE’s black embossing powder. I added gold Drip Drops to the centers of the flowers for accent and a lovely glow!

After finishing the first card I decided to create a similar card but just changed up the color scheme. For this card I started with Cookie Monster cardstock and stamped the leaves background in Peapod ink. Instead of using the stencil I die cut the poinsettias out of Lolipop and inked the edges with Fruit Punch ink. I added the sentiment to the center stamped on Oreo cardstock and embossed in white.


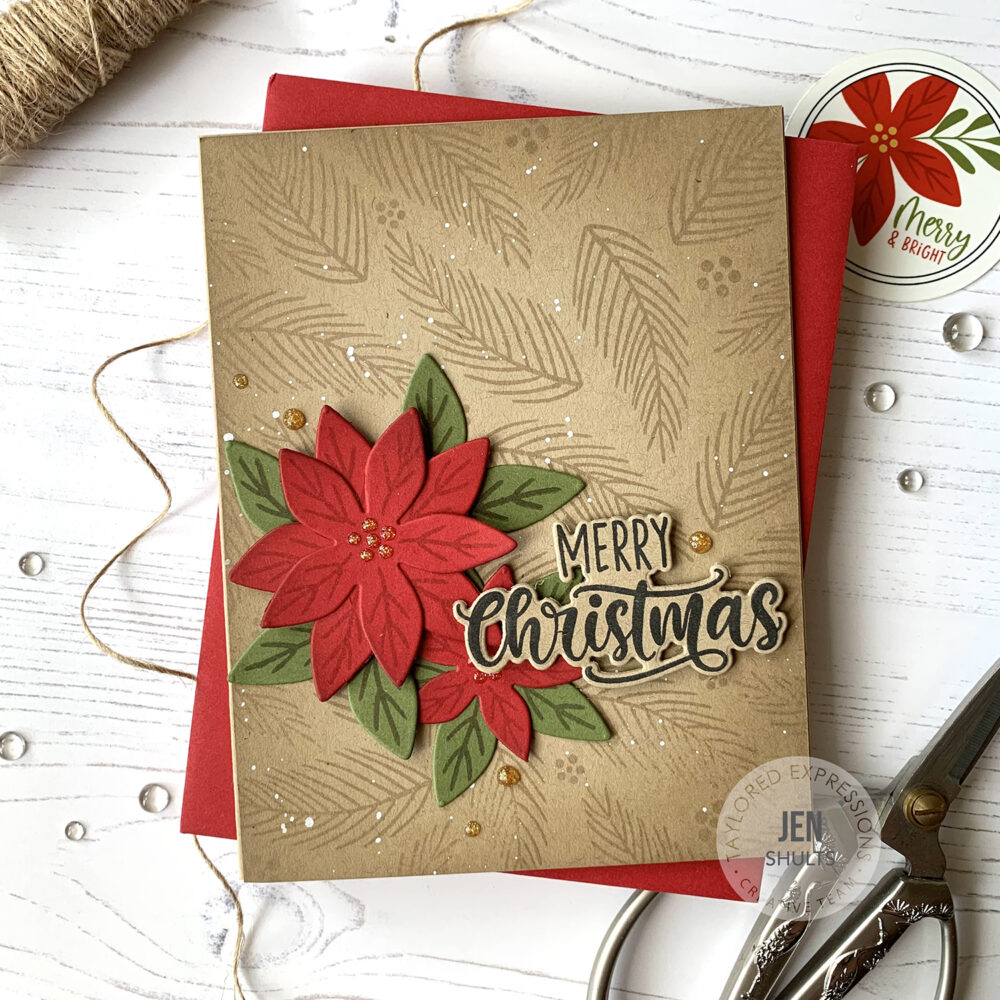
My last card using this kit goes a little bit of a different direction. Instead of using the background stamp and stencil, I stamped the coordinating pine bough stamp and small dots stamps to create a background. Before stamping I used a blender brush to add Toffee ink to the edges of the cardstock. To keep the background tone on tone I used Toffee cardstock and Toffee ink.

When creating the poinsettia’s, I used Cherry Pop cardstock for the flower portion and Sweet Basil for the leaves using the same stamps and dies! I snipped the green die cuts apart in different areas to create the look of leaf clusters. To the centers I added a bit of gold glitter Nuvo drops and I also added a few drops to the background.
And there you have it! The last of my Merry Blooms cards. As you can see it’s a very versatile kit and super easy to customize to your personal style!
Happy Holidays on Toffee Card Ingredients:
|


Merry Christmas Cookie Monster Card Ingredients:
|


Merry Christmas on Toffee Card Ingredients:
|


One response to “Merry Blooms Part 2”
Thanks for the inspiration! I’m excited to get my products and start some Christmas cards!