
Hi everyone! Happy Tuesday! I hope you are having a great week. We’ve been a little under the weather at my house this week so it’s been slow going and it’s been kind of nice to slow down! Also, I have to say it – Go Chiefs!! As a Kansas City native I can’t forget about that, lol.
Today Taylored Expressions has a new kit for you that is perfect for coffee lovers and there’s also a little in there for tea lovers as well! The details of the Perk Up! Cardmaking Kit from Taylored Expressions are below.

The Perk Up! Cardmaking Kit retails for $59, is packaged in a zippered pouch with a custom sticker, and includes:
- Perk Up! Stamp & Stencil Combo set
- Perk Up! die collection
- Clearly Crafty Hug in a Mug stamp set
- Cup of Joe die collection
- Coffee Create Repeat stamp set
- The Insiders – Coffee panels
Most kit items are not available to purchase individually.
Additional products available to purchase outside of the kit: Foil It – Perk Up! panels, Simple Strips – Coffee stamp, Coffee Create Repeat die collection, Perk Up! envelope seals, and The Insiders – Coffee panels.
Limited quantity available
To be notified of new kit releases, be sure to subscribe to our newsletter and follow us on Facebook and Instagram.

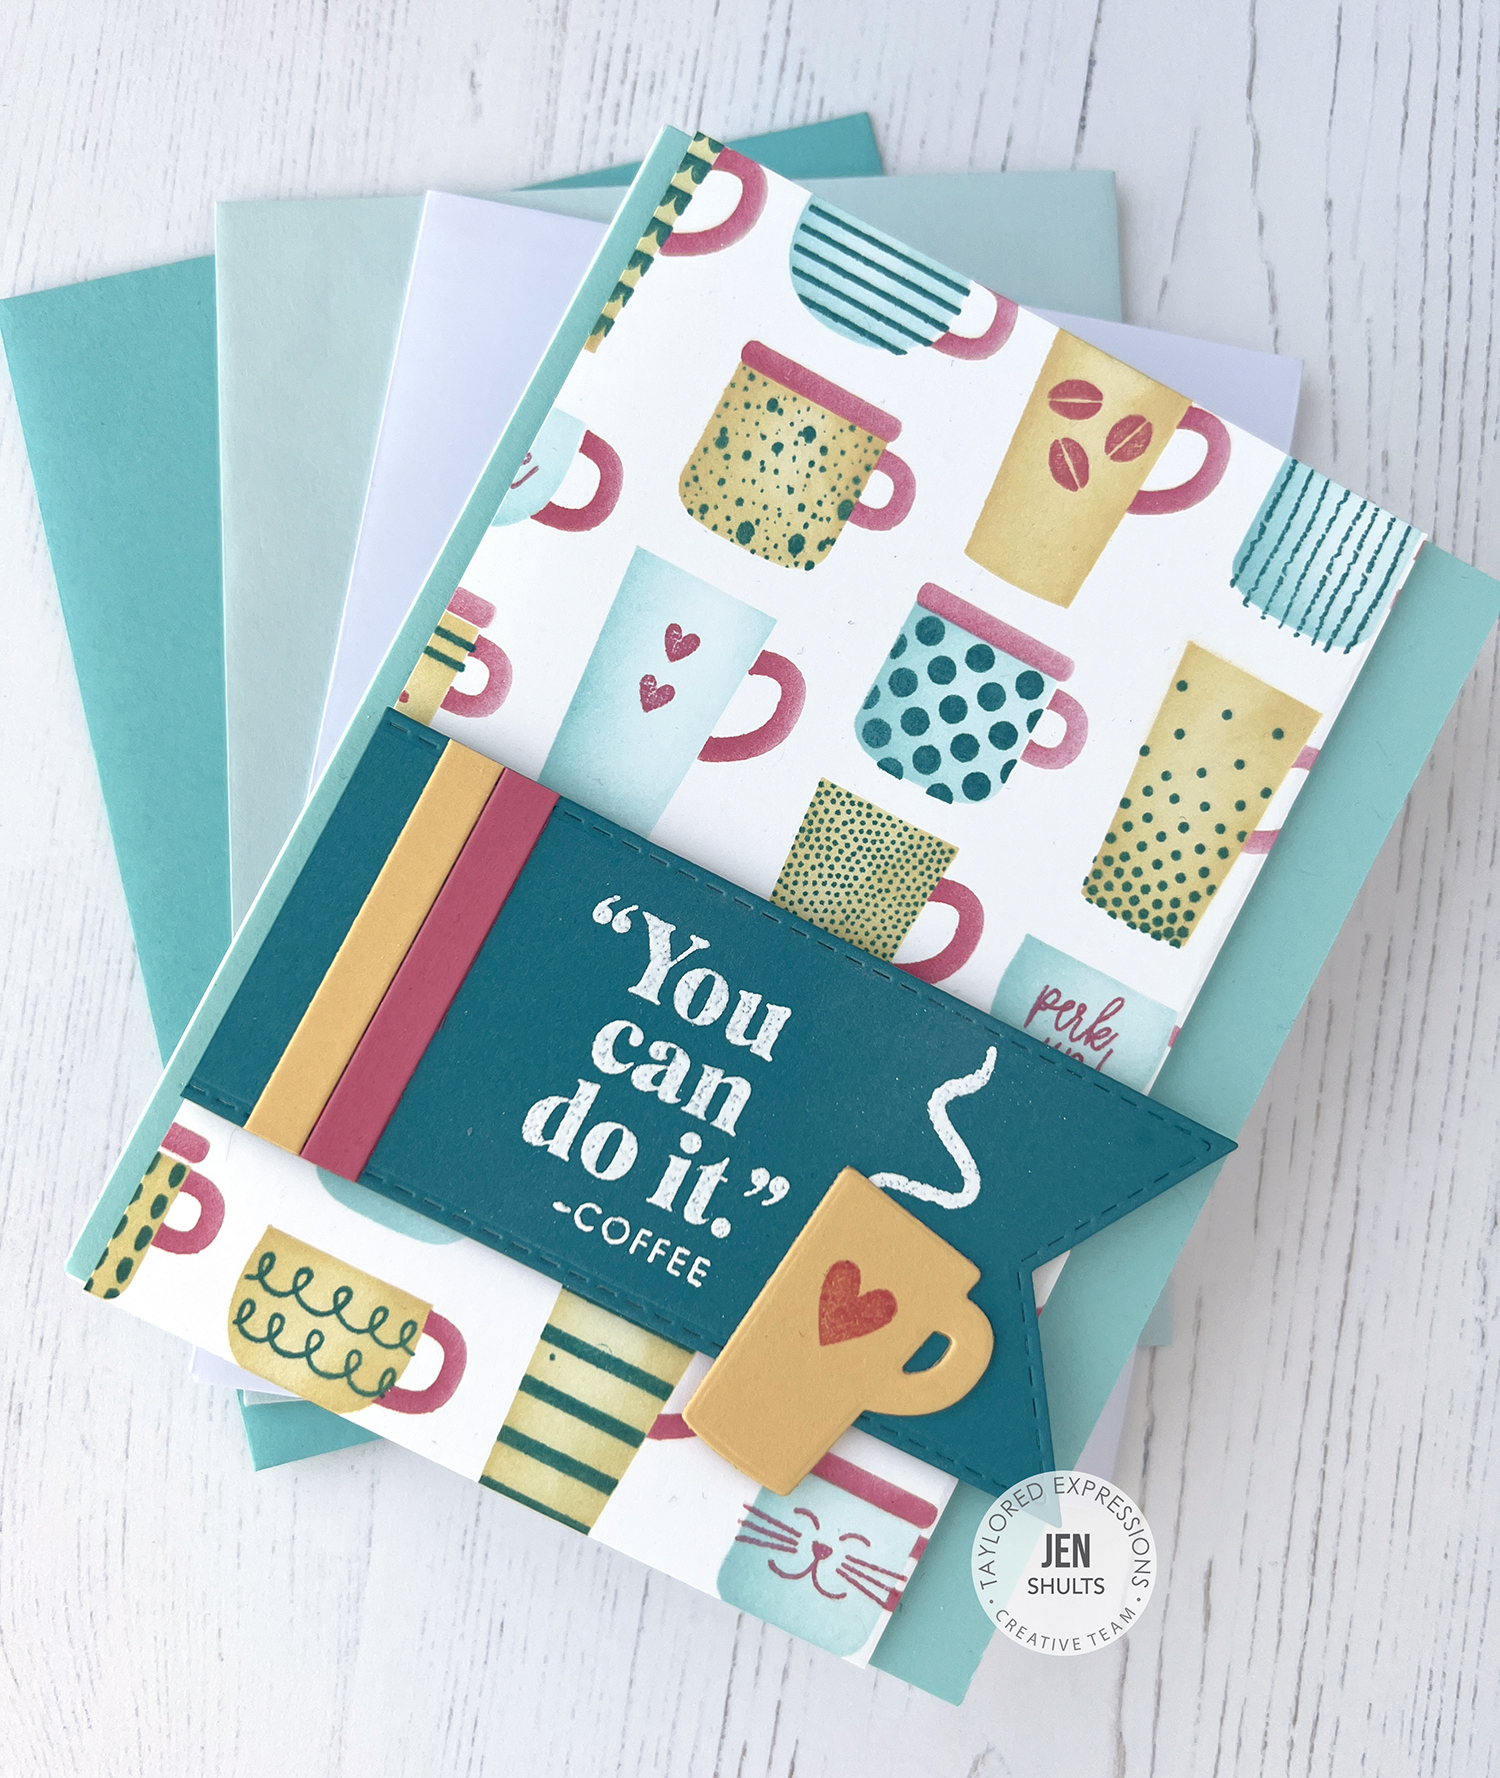
The card I made with this kit was so quick to put together. I love when a kit comes with so many options of how to use the kit such as stamping, die cutting, and foiling. I chose to stamp the background and used a bit of a primary color scheme with Confetti Cake, Tropical Punch, Pineapple, and Guava. I used the Bitty Blender Brushes to add some contouring while ink-blending the mugs and then stamped extra details using the accessory stamp set.

To make this card:
- Stamp the background stamp on Sugar Cube with Tropical Punch.
- Line up Stencil 1 and ink blend with Pineapple ink.
- Line up Stencil 2 and ink blend with Confetti Cake ink.
- Line up Stencil 3 and ink blend with Guava ink.
- Using Guava ink stamp various images from the accessory stamp set on the mugs.
- Trim 5/8″ off of the background panel, vertically.
- Die cut a banner from Tropical Punch using Stitched Banner Stacklets (make sure your sentiment will fit on the banner).
- Stamp the sentiment and coffee/tea steam using Versamark ink then heat emboss with White Detail Embossing Powder. Trim the banner to fit on the card front.
- Die cut the tall coffee cut die from Pineapple and stamp with a heart using Guava ink.
- Cut the 1/4″ Easy Strips from Pineapple and Guava cardstock. Glue down one of each on the left edge of the banner. Attach all of the pieces to a Confetti Cake cardbase using foam tape.
|


