Taylored Expressions is releasing some amazing new products today! Taylor is always on the lookout for ways to make stamping easier and to create innovative new products and today’s release is no different! TE is introducing new stencil storage and it’s amazing!

We also have some AMAZING new stencils to go along with this awesome stencil storage!

I used three stencils on three different cards today. My first card uses the Flickering stencil with the Gel Printing Kit. I LOVE LOVE LOVE the gel printing kit and for this card I used it with TE inks. I started by smooching and brayering a LOT of brown inks on the gel press and lifting the ink off on a piece of gel printing paper. When I was satisfied with the coverage I inked one last time with Toffee ink and then smooshed the Flickering stencil onto the ink. I used a piece of Gel Printing paper on top of the stencil to lift the ink through the holes of the stencil. I then removed the stencil and places a piece of Sugar Cube cardstock on the gel plate and lifted the remaining ink. This is the print that became my background. The rest of the card was quick and easy to put together. I die cut one of the Branch Out dies in Olive cardstock and then the Framed Hello die in gold foil cardstock. I trimmed off the frame of the stencil and then layered these on my card. I added a thing frame of Chocolate Truffle and some clear Drip Drops and my card was done!


This card was made using the same method as above with darker brown inks and all the same supplies. I love how quickly you can create unique one of a kind backgrounds using the Gel Printing Kit!


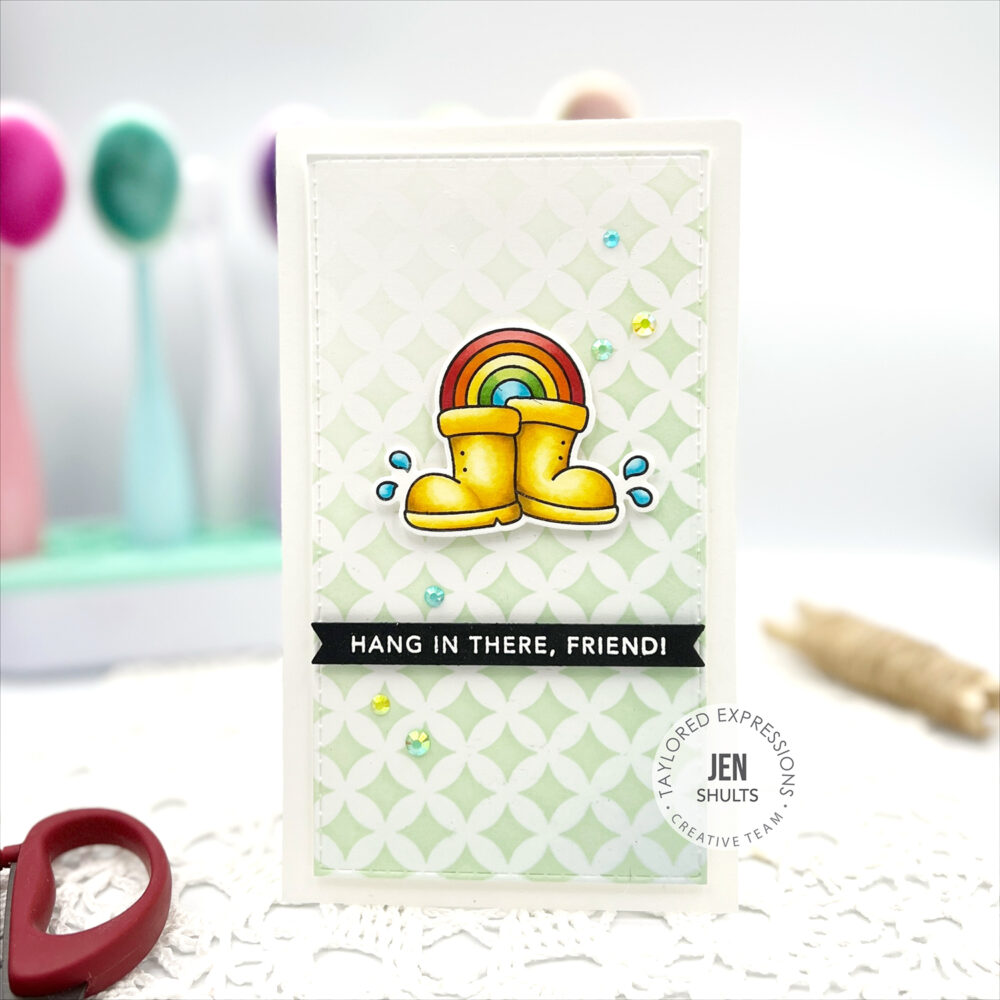
My second card uses the Mini Slim Trellis Stencil for the background. I did a bit of light fading from the bottom right to the top left when inking to add a bit more interest. I also layered in a tiny bit of Gumball ink in the bottom right corner before stenciling. I kept this card simple with an image from Brighter Skies and Simple Strips – Friendship.

|

My last card uses the new Chantily stencil inked with Earl Grey and Sea Salt ink and paired with the Oh My Word – Hello and Simple Strips Friendship. I added a frame from Frame in Frame cutting plate. I added a bit of pink by inking Sugar Cube cardstock with a subtle blend of Strawberry Milkshake ink before die cutting. I added a few pink rhinestones and that was that!

|
That’s it for me today! I hope you have a great day!


