Hi everyone! Happy Tuesday! It’s the last Tuesday of the month and you know what that means – it’s time for a new card kit from Taylored Expressions! Details for the Wreathed in Joy cardmaking kit are listed below! I have two projects to share with you today using the kit.

The Wreathed in Joy Cardmaking Kit retails for $65, is packaged in a zippered pouch with a custom sticker, and includes:
- Wreathed in Joy Stamp & Stencil Combo set
- Wreathed in Joy die collection
- The Insiders – Wreathed in Joy panels
Most kit items are not available to purchase individually.
Additional products available to purchase outside of the kit: The Insiders – Wreathed in Joy panels, Wreathed in Joy envelope seals, Foil it – Wreathed in Joy panels, Fly Your Flag 2 Die & Clear Combo set, and Vintage Sprigs Background stamp.
Limited quantity available.

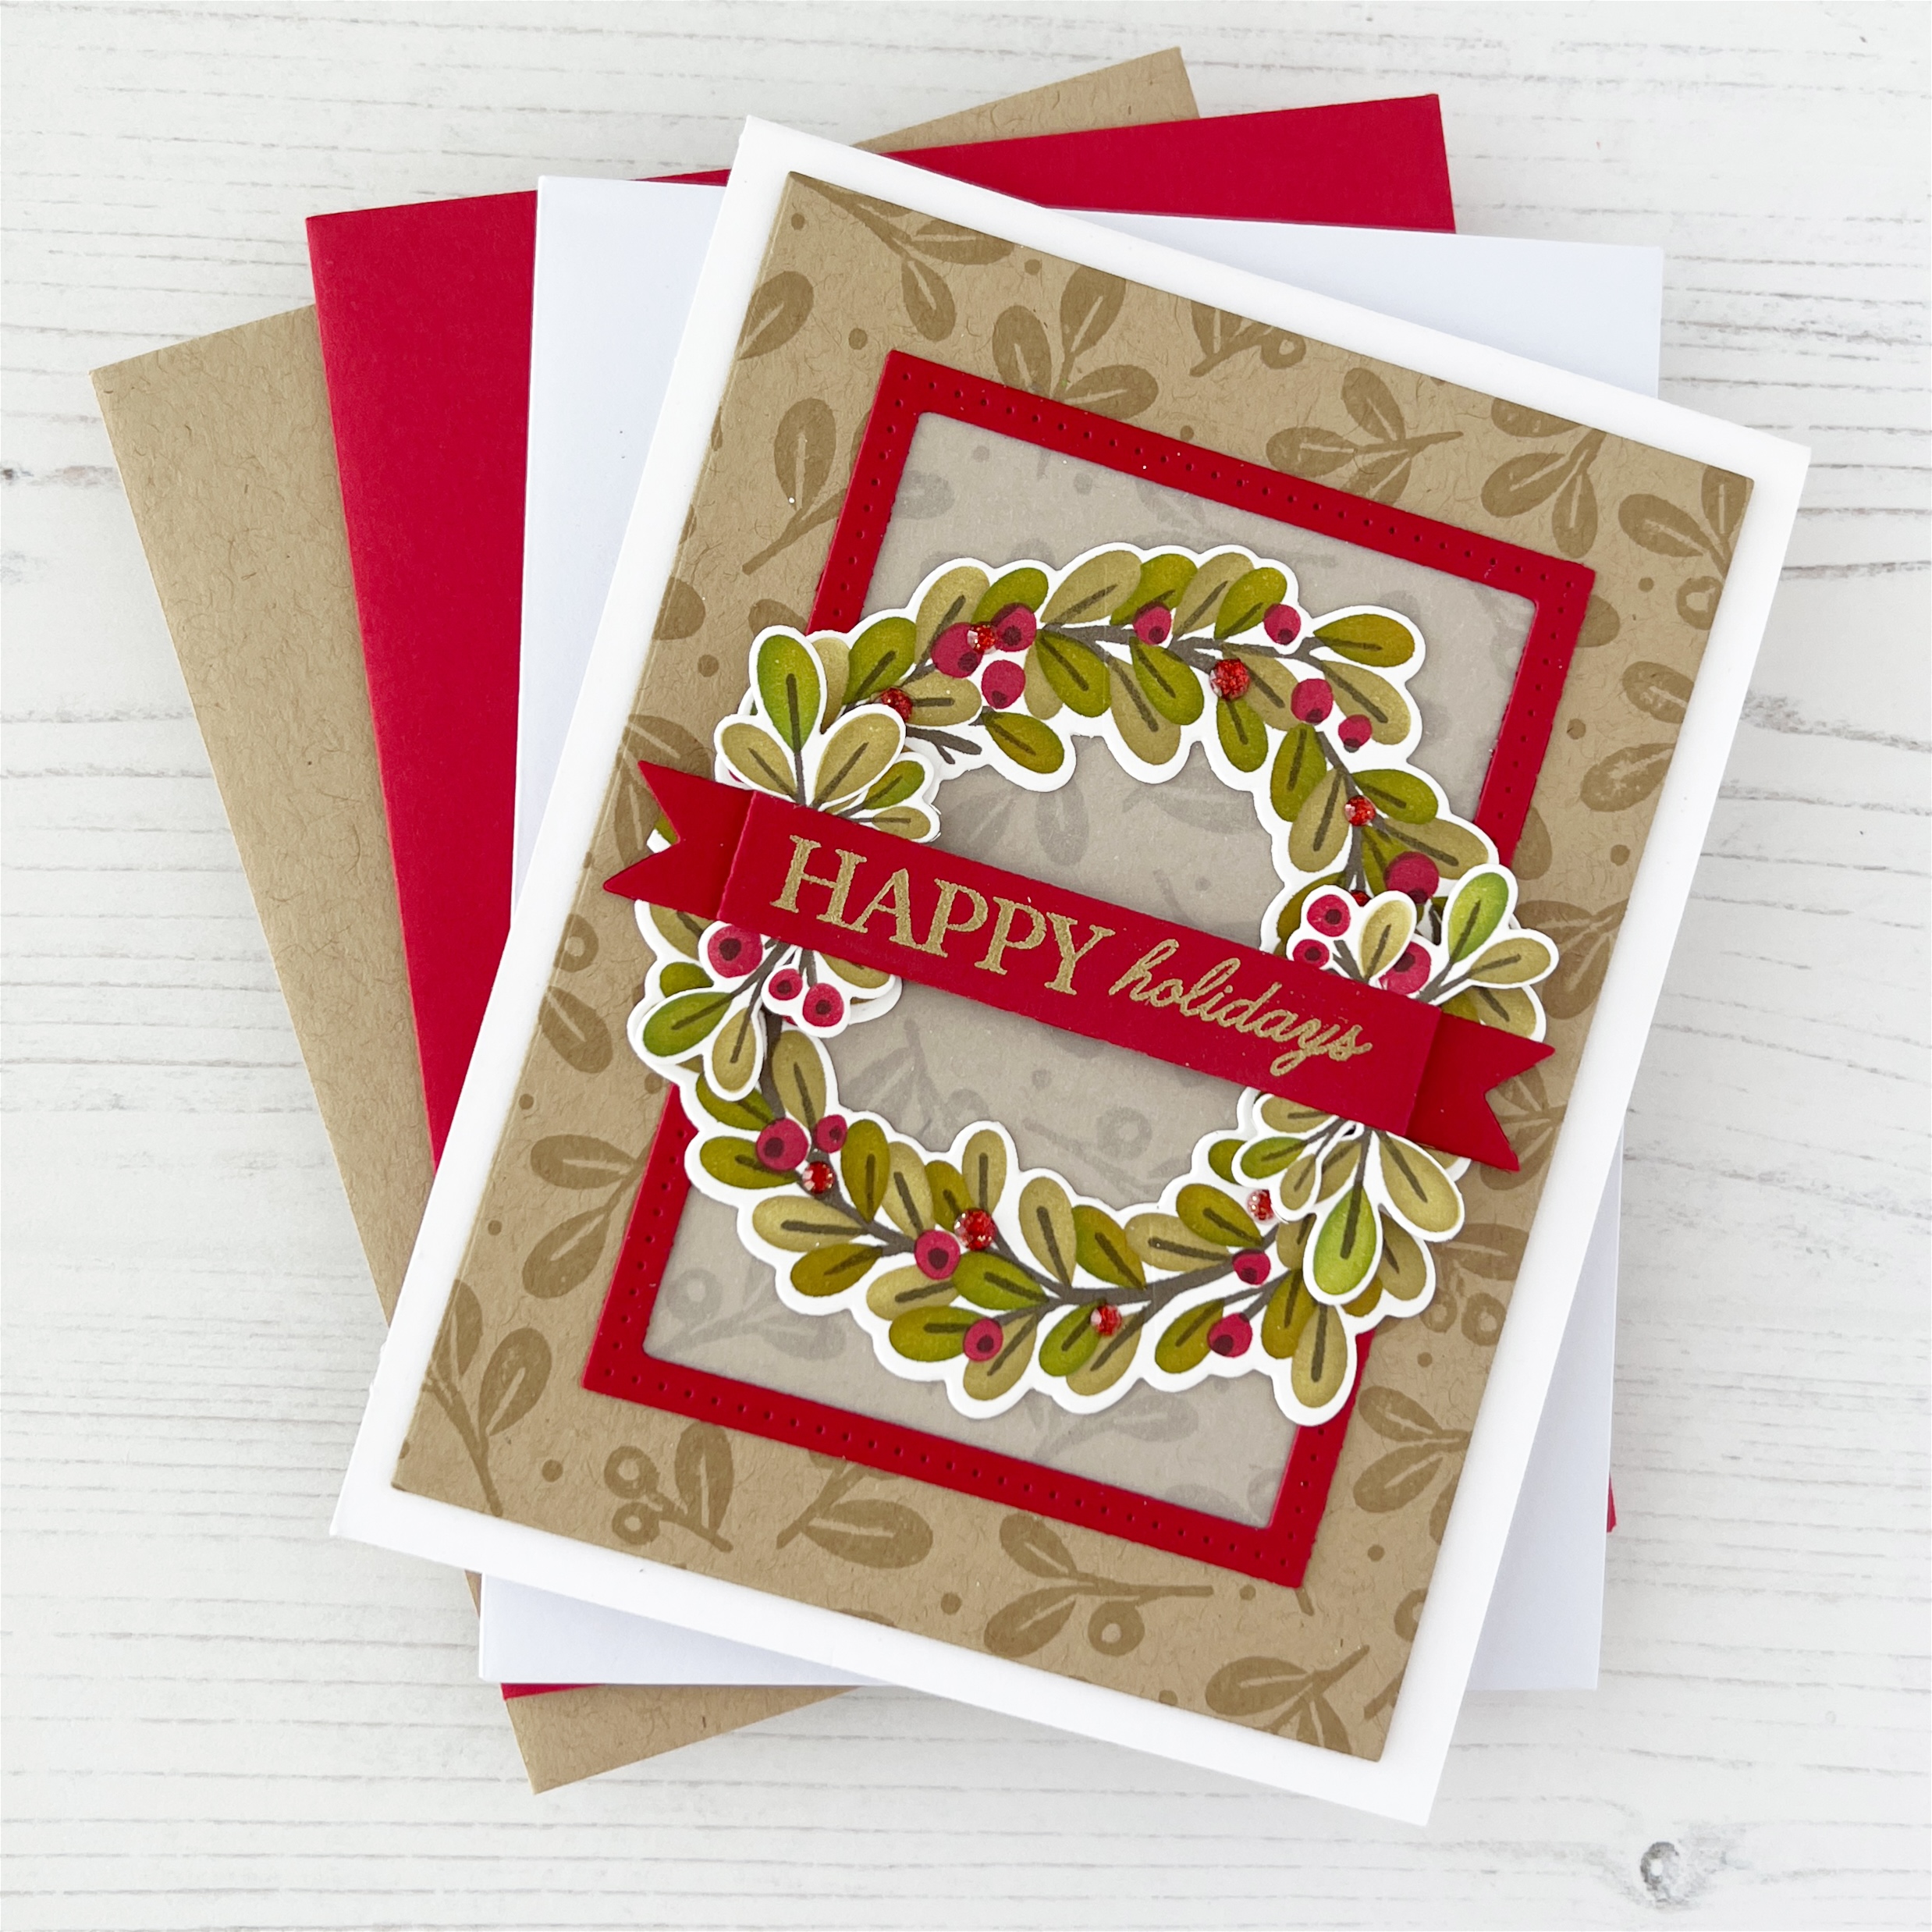
The first card I made using the Wreathed in Joy cardmaking kit is a little more rustic and uses one of my favorite color combos for Christmas – Toffee, Watermelon and Sweet Basil. To get stamped the Wreathed in Joy stamp on Sugar Cube cardstock with Mocha ink (Versamark for the J and the Y) (make sure to use a 6×6″ or larger piece of cardstock). I then got to work with the stencil using Watermelon, Sweet Basil, Avocado and Honey inks with the Bitty Blender Brushes. Once I was done blending I die cut everything with the coordinating dies and heat embossed the J and the Y with gold embossing powder – I used these and the small wreath on the second card.

For the background of my card I stamped the Vintage Sprigs background stamp tone on tone on Toffee cardstock and made a vellum frame using the Frame in Frame 3 Cutting Plate (my current favorite!). I layered up the large wreath with the vellum frame then added the sentiment stamped on Watermelon cardstock with Versamark then heat embossed with gold. After embossing I die cut with the Fly Your Flag 2 Die and Clear Combo. To finish I tucked a few of the small sprigs under the sentiment banner and added a few small Red Glitter Drops.

For the inside I popped in one of the Insiders Wreathed in Joy and a frame cut from Watermelon with Frame in Frame 3 and the card was done!

The second card I made with the kit uses the remaining stencilled elements I didn’t use on the first card. To start I stamped the Vintage Sprigs background stamp on Sugar Cube using Versamark and I heat embossed with white embossing powder to get a subtle tone on tone look. I then cut the Gemstone Thin Frame Cutting Plate from Watermelon and used the 2nd and 3rd largest cuts to create a frame for the word JOY. The word JOY was created using the smaller wreath from the stencil and the J and Y I stamped and set aside from the first card.

After getting JOY placed on the card I stamped “to the world” on Sugar Cube and heat embossed in gold embossing powder and die cut with the Fly Your Flag 2 die. To finish the card I added a few Gold Glitter Drops.
All of the supplies I used on my cards are linked below! Hurry and get your Wreathed in Joy Cardmaking Kit before they are gone!
|


