
Happy Tuesday! I hope you are having a good day. I’m back to work today, starting school year 26. I’m excited for a new start and a new group of kiddos! If you or your family are starting back to school I wish you a stress free uneventful day. 🙂
Today I have three projects to share with you from Taylored Expressions Halloween release. There is SO MUCH cute stuff this month!!
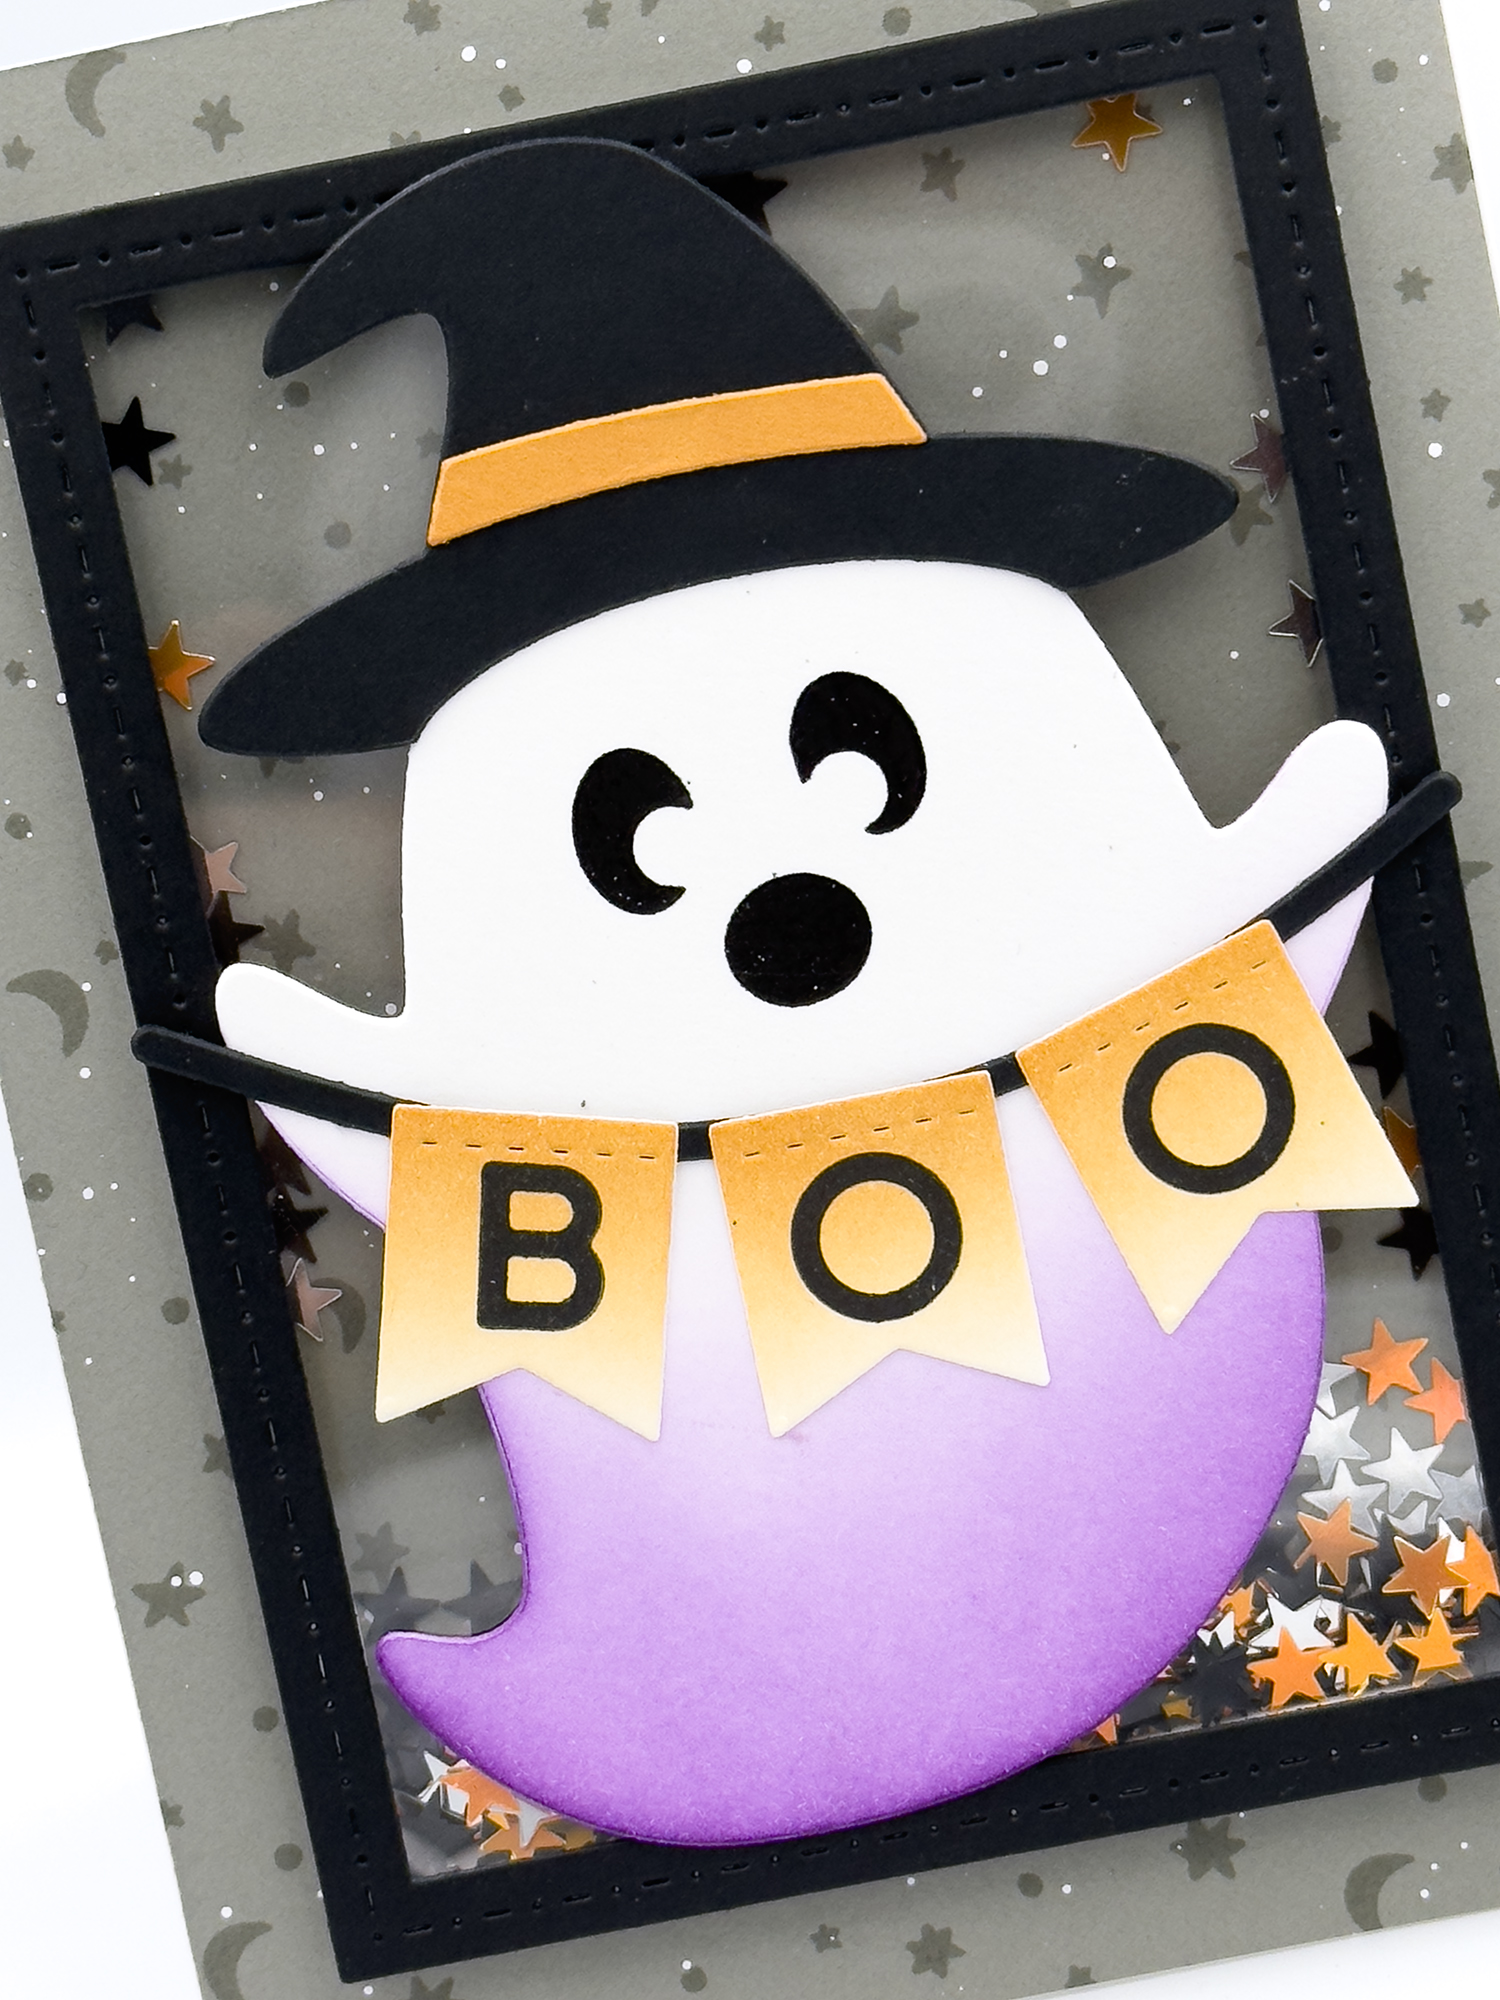
My first project uses the Ghoul Vibes bundle featuring Ghost Hugs, Celestial Skies Background Stamp, Ghoul Vibes stamps and Ghoul Vibes dies. I made a card and a set of two coordinating tags with this bundle.
To make the card and tags:
- Cut an A2 cardbase from Sugar Cube and fold. Set aside. Cut an A2 card front from Mushroom cardstock and stamp the Celestial Skies background stamp on the card front using Mushroom ink. Splatter with white acrylic paint or white ink. Attach the card front to the cardbase with strong adhesive.
- Die cut three ghost bodies from Ghost Hugs from Sugar Cube cardstock. Ink blend one with Cookie Monster ink, one with Plum Punch ink and one with Kiwi ink starting at the bottom and fading up halfway.
- Stamp the each ghost with one of the faces from the coordinating clear stamp set with Versafine Clair – Nocturn ink and heat emboss with Black Detail Embossing Powder. Stamp the cheek blush with Rose Water ink.
- Die cut the coordinating accessories for the Ghosts .
- Hat from Black Licorice cardstock. Hat band from Candy Corn cardstock.
- Pumpkin from Candy Corn cardstock and pumpkin base from Black Licorice cardstock. Assemble the pieces.
- Bow from Strawberry Milkshake.
- Ink blend Candy Corn ink on Sugar Cube and die cut the three banners (x2). Stamp with BOO using black ink. Die cut the banner string from Black Licorice. Assemble the banners with liquid adhesive.
- Assemble the ghosts.
- For the tags punch a whole in the top of two of the ghosts and thread with string.
- To finish the card cut a frame from Black Licorce cardstock using Frame in Frame Cutting Plate 3 (second largest). Back with clear acetate. Line the edge of the frame with 1/8″ foam tape strips. Remove the backer on all but one of the sides of the frame and center on the cardbase. Fill the shaker with Bits & Pieces – Halloween Stars & Sparkles confetti. Remove the last backer and close the shaker.
- Adhere the remaining ghost to the card front.

|


My second card features images from the new Around Town Halloween Bundle. This bundle coordinates with the previously release Around Town Stencil or can be used on its own!
To make this card:
- Create an A2 cardbase from Peapod cardstock.
- Stencil the Around Town Stencil on Earl Grey cardstock with Poppy Seed ink, blending so the edges are darker than the middle. Trim the panel and then die cut with A2 Layer Stacklets. Ink the edges of the panel with Poppy Seed ink. Emboss with the Swiss Dots Embossing folder (I accidentally debossed but it works!) and then rough up the edges if desired.
- Ink up Around Town – Halloween on Sugar Cube cardstock using your desired colors. I used Poppy Seed, Peapod, Pumpkin, Dijon, and a tiny bit of Jelly Donut on the ghost. Die cut with the coordinating cutting plate.
- Arrange the pieces around the “map” as you like. I used thin foam squares to pop them up.
- Stamp Happy Halloween from Haunted Hello on Sugar Cube with Versafine Clair – Nocturn ink and heat emboss with Black Sparkle Embossing Powder (this is a holographic glitter embossing powder – but it photographed as black with white speckles). Die cut the sentiment.
- Add the sentiment at the bottom and add some extra pieces around the sentiment. Finish by adding a few Bits & Pieces – Halloween Stars & Sparkle stars around the card. Adhere the panel to the cardbase with foam tape.

|


My last project features the $100 freebie this week – Mega Messages Trick or Treat. This die is SO CUTE and could be used in so many different ways.
To make this card:
- Create an A2 cardbase from Sugar Cube cardstock.
- On another A2 Sugar Cube panel, ink the edges with Pumpkin ink then stencil the Jack-o-lantern Stencil over the top with Dijon ink. Splatter with Oreo Liquid Watercolor and white acrylic paint.
- Ink another piece of Sugar Cube, big enough to die cut Mega Messages Trick or Treat with Dijon and Pumpkin, fading to white. Make sure the inked area is big enough to die cut the words completely. Center the die cut over the inked area and cut. Die cut the backer from Black Licorice cardstock.
- Cut the largest frame from Frame in Frame 3 Cutting Plate from Black Licorice cardstock.
- Assemble the card using foam tape under the border and sentiment. Add three Oreo enamel dots.
- NOTE: You could super easily make this a shaker card and also add some of the piece from Around Town – Halloween for some extra pop.

|


