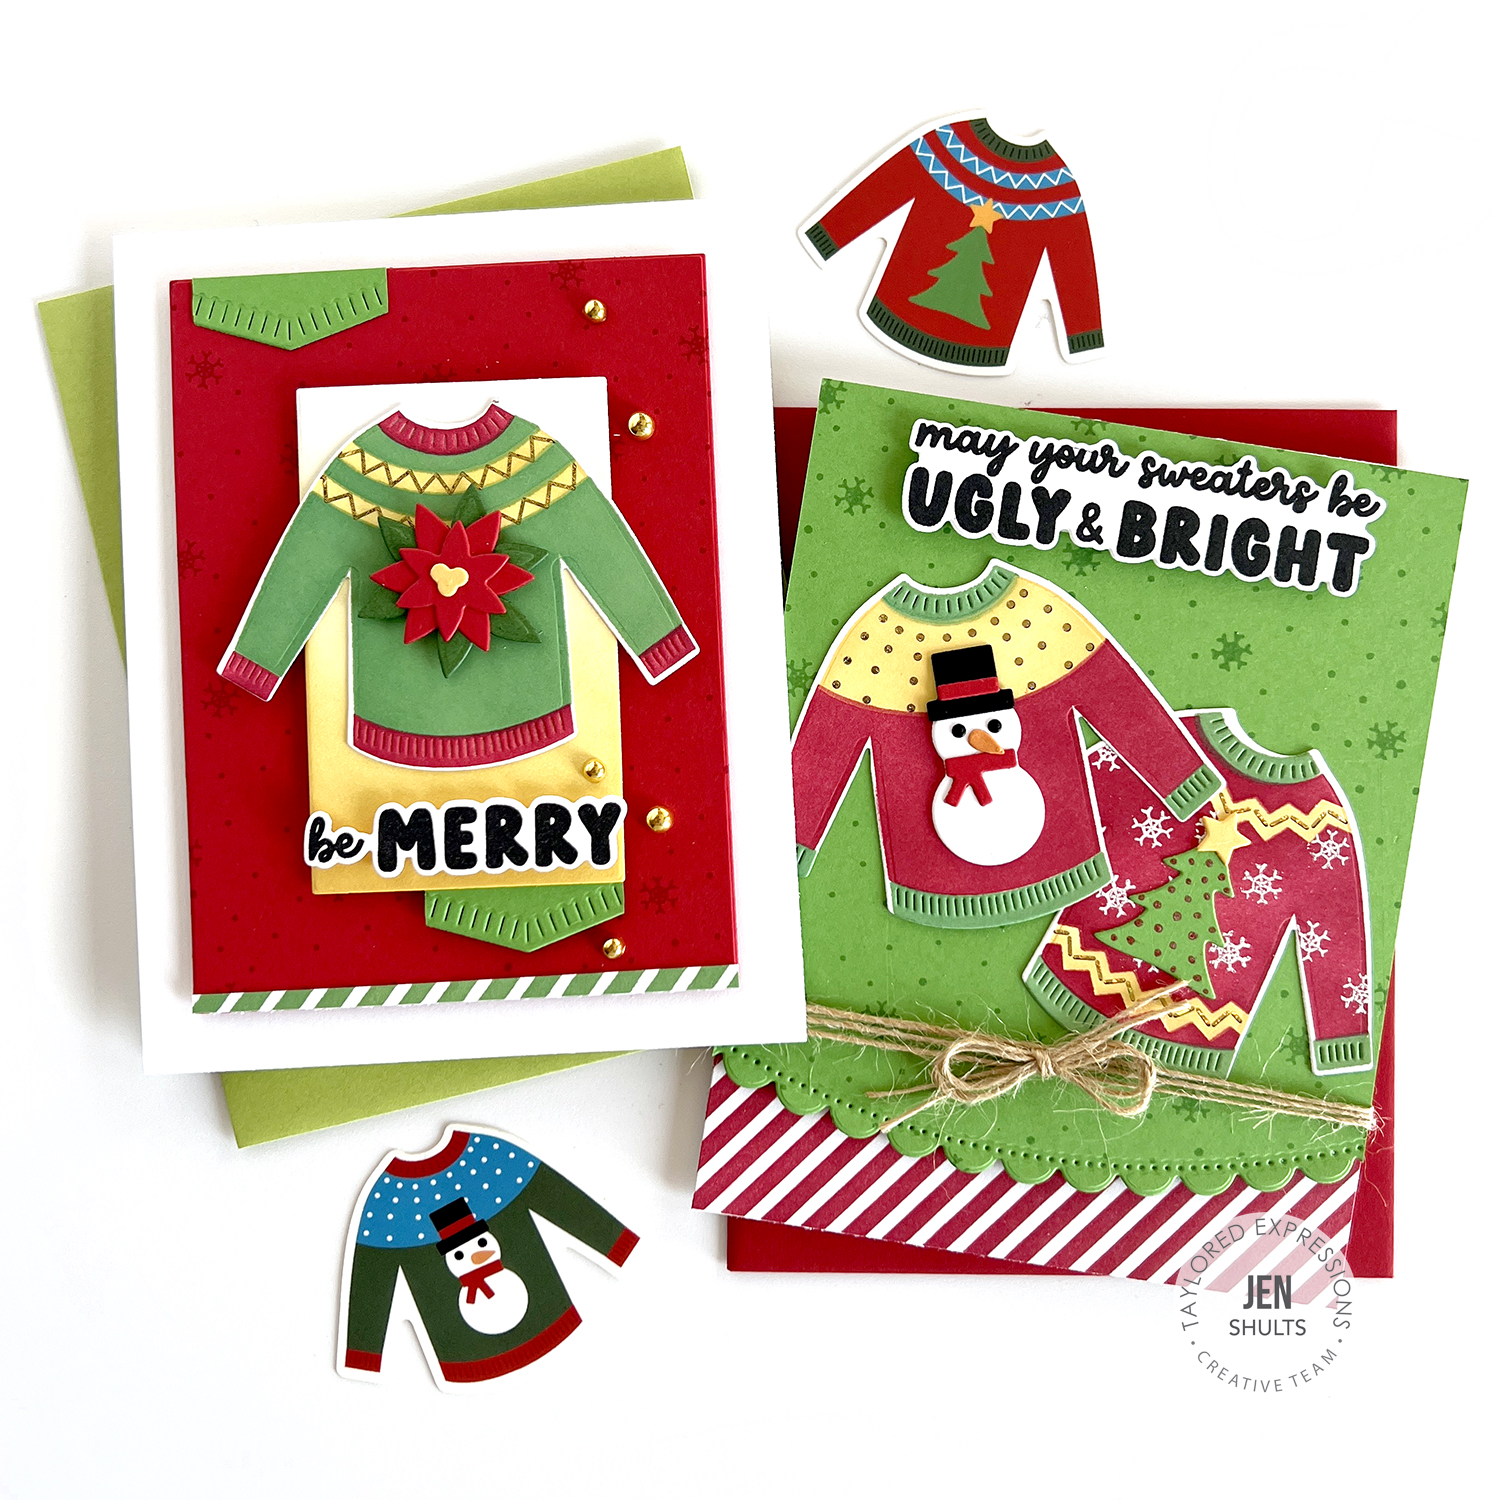
It’s time for a little more Christmas in July! Taylored Expressions is releasing their newest kit – Sweater Weather and oh my you need this one! It’s so fun! The kit includes:

The Sweater Weather Kit is $69 packaged in a zippered pouch with a custom sticker. The kit includes:
- Sweater Weather Stencil, Die, & Clear Combo
- Dinky Decorations
- The Insiders – Sweater Sayings
- Sweater Sayings
- True Colors Inspiration Cards (set of 4)
Most kit items are not available to purchase individually.
Additional products available to purchase outside of the kit: The Insiders – Sweater Weather, Sweater Weather Envelope Seals, Sweater Sayings Coordinating Dies, Dotted Snowfall Background, and Foil It – Sweater Weather.

I made two coordinating cards with this kit. It’s SUPER easy to mass produce with this kit because the stencil makes FOUR sweaters at once so you can get a lot out of one work session. To make this card:
- Create an A2 card base out of your choice of cardstock, I used Sugar Cube.
- Stamp Dotted Snowfall Background on Dill Pickle cardstock with Peapod ink. Die cut one edge with the scalloped Easy Edger.
- Stencil the striped Stencil Strips – Holiday with Cherry Pop ink on Sugar Cube. Trim to 4.25″ x 2″.
- Foil one of the Sweater Weather Foil Its with Gold Fun Foil. Stencil using Cherry Pop, Dill Pickle and Pineapple ink. Die cut all four sweaters (we will use on on the next card).
- On one sweater, use a powder tool to remove static. Stamp the tiny snowflake from the clear Sweater Weather stamps in Sugar Cube ink. Heat emboss with white embossing powder.
- Die cut the Dinky Decorations for a snowman and Christmas tree using Sugar Cube, Black Licorice, Watermelon, Candy Corn, Dill Pickle and Pineapple cardstock. Assemble the snowman and Christmas tree (add gel pen accents to Christmas tree – optional). Adhere to two different sweaters.
- Stamp the sentiment from Sweater Saying using Versafine Clair – Nocturne on Sugar Cube and die cut with the coordinating die.
- To assemble wrap and attach twine to the bottom of the Dill Pickle background panel. Adhere the striped cardstock to the bottom edge. Layer the Dill Pickle panel over the top with foam tape, as shown.
- Arrange the sweaters in the center of the Dill Pickle panel overlapping and tilted to fit.
- Adhere the sentiment to the top with foam tape.

To make this card:
- Create a Sugar Cube A2 cardbase and set aside.
- Stamp the Dotted Snowfall Background with Cherry Pop ink on Watermelon cardstock. Trim to 3.25″ x 4.5″.
- Stencil the striped stencil from Stencil Strips – Holiday with Dill Pickle ink on Sugar Cube. Cut a 1/8″ strip and attach to the bottom of the Watermelon panel. Trim to fit.
- Cut a 1.25″ strip of Dill Pickle and die cut the end with the pointed Easy Edger. Trim to make to “flags”.
- Using the smallest A2 Layer Stacklet die cut a piece of Sugar Cube. Ink blend with Pineapple, blending up from the bottom and fading out just past half way.
- Foil one of the Sweater Weather Foil Its with Gold Fun Foil. Stencil using Cherry Pop, Dill Pickle and Pineapple ink. Die cut all four sweaters (we will use on on the next card).
- Use Watermelon, Pineapple and Cilantro cardstock to die cut the pieces of the poinsettia in Dinky Decorations. Assemble the poinsettia. Attach to one of the sweaters.
- Stamp Be Merry from Sweater Sentiments with black ink on Sugar Cube cardstock. Die cut with the coordinating die.
- To assemble attach one of the flags to the upper left of the Watermelon background. Adhere the background to the cardbase with foam tape. Attach the other flag to the bottom left of the Pineapple background piece. Attach to center of card with foam tape.
- Adhere the sweater to the center of the Pineapple panel and the poinsettia to the center of the sweater using foam tape. Add the sentiment with foam tape.
- Finish up with a few Bits & Pieces Gold Drip Drops.
|


