Today Taylored Expressions is kicking off their HUGE Sweet 16 Birthday Bash! I can’t believe TE is 16!!! We have a lot of amazing stuff to share with you today so let’s get to it!

My first card features a new suite of products that all coordinate together and oh boy! I started with the new Fan Favorite Layering Stencil using Cupcake, Strawberry Milkshake, Lollipop, Dragon Fruit, Blueberry and Blue Corn ink. I love this combo of navy and pink – it’s so fun! After stenciling I embossed the design with the matching 3-D Embossing Folder. I trimmed the panel down, matted it with Blue Corn cardstock, and added a bit of vellum trim. The sentiment is stamped in Dragon Fruit ink on Sugar Cube cardstock and die cut with the coordinating dies. I added a few glitter drops to the centers of the fans and done!
|

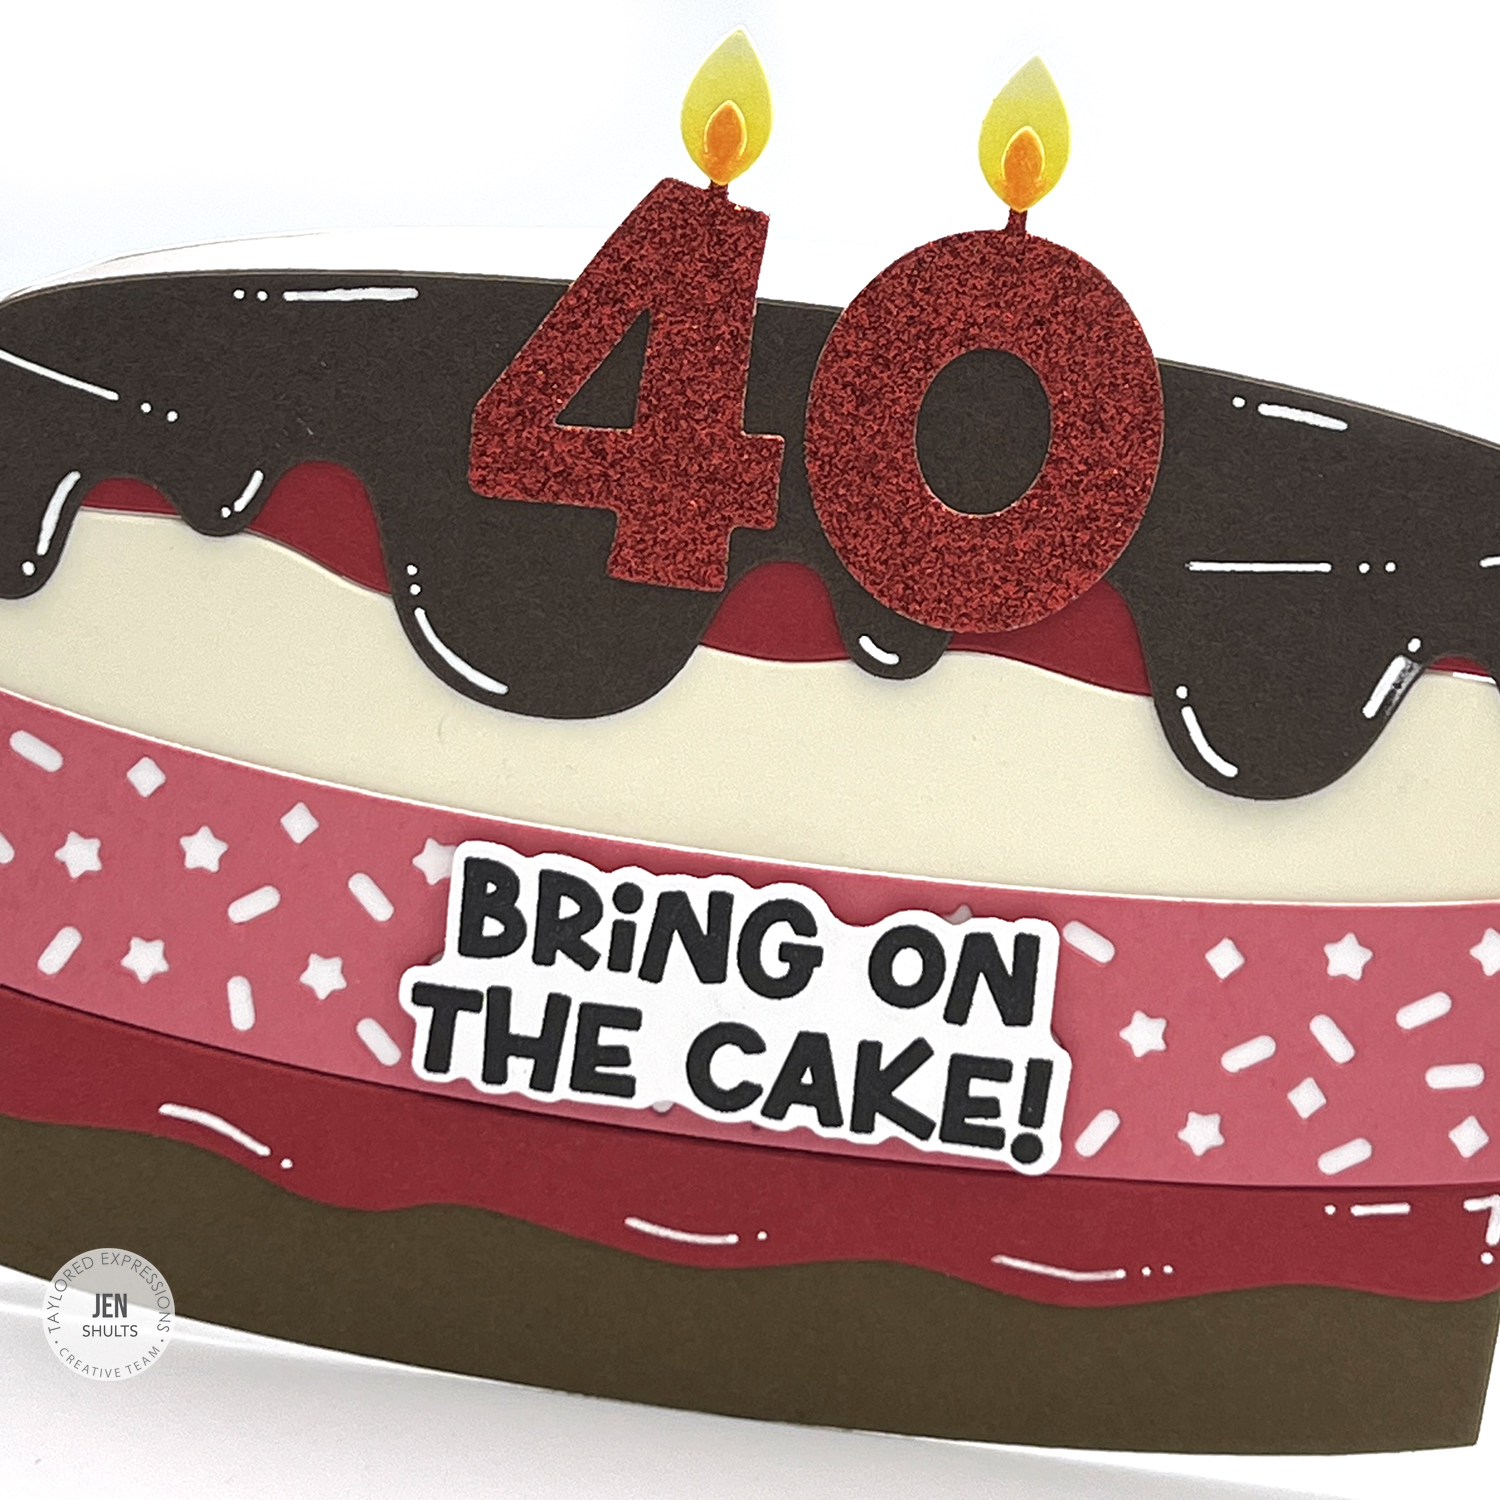
My second project is a shaped card, shaped like a birthday cake using the amazing new Iced Iced Baby die set – isn’t it cute! This lets you die cut a perfect cake with as many layers as you want! I decided to make a shaped card with it and added a back panel trimmed to be the same size and shape as the cake. I used Cinnamon, Watermelon, Guava, Buttercream Frosting and Chocolate Truffle cardstock for the cake and a few gel pen accents to make the shiny portions really shine. The candle numbers are the new Sixteen Candles die set and I cut those from red glitter cardstock. For the flames I die cut them from Sugar Cube and colored with OLO markers.


|

My final project today uses the Free with $100 purchase set for the birthday bash and it’s amazing! The Icing on the Cake bundle features an exclusive stamp, die and 3D embossing folder. For my card I started by inking the Confetti Cloud Stencil on Sugar Cube with Fruit Punch, Candy Corn, Lemon Meringue, Peapod, Cookie Monster and Jelly Donut ink. I used the same ink to lightly blend the background after inking the stencil.

Next I stamped the Icing on the Cake stamp in Fruit Punch, Candy Corn, Peapod and Cookie Monster using the awesome peel away layers of the stamp. After stamping I carefully lined up the embossing folder and embossed. Next I also carefully die cut the cake and ran it back through the embossing folder to pop up the image. Be sure to lightly mist the back of your cardstock with water before using a 3D embossing folder so the cardstock doesn’t crack. I finished up by adding coordinating Glitter Drops in the background
|

Get the Icing on the Cake exclusive Stamp, Die, & 3D Embossing Folder Combo FREE with any purchase of $100 or more.


