Hi everyone! Today I have two projects to share with you from the new Taylored Expressions release that will be available for purchase tomorrow, April 28 at 9 am CST. This release is all about teacher appreciation and graduation. With this year being a LOT different than most it’s more important than ever that we share our love with teachers and grads!

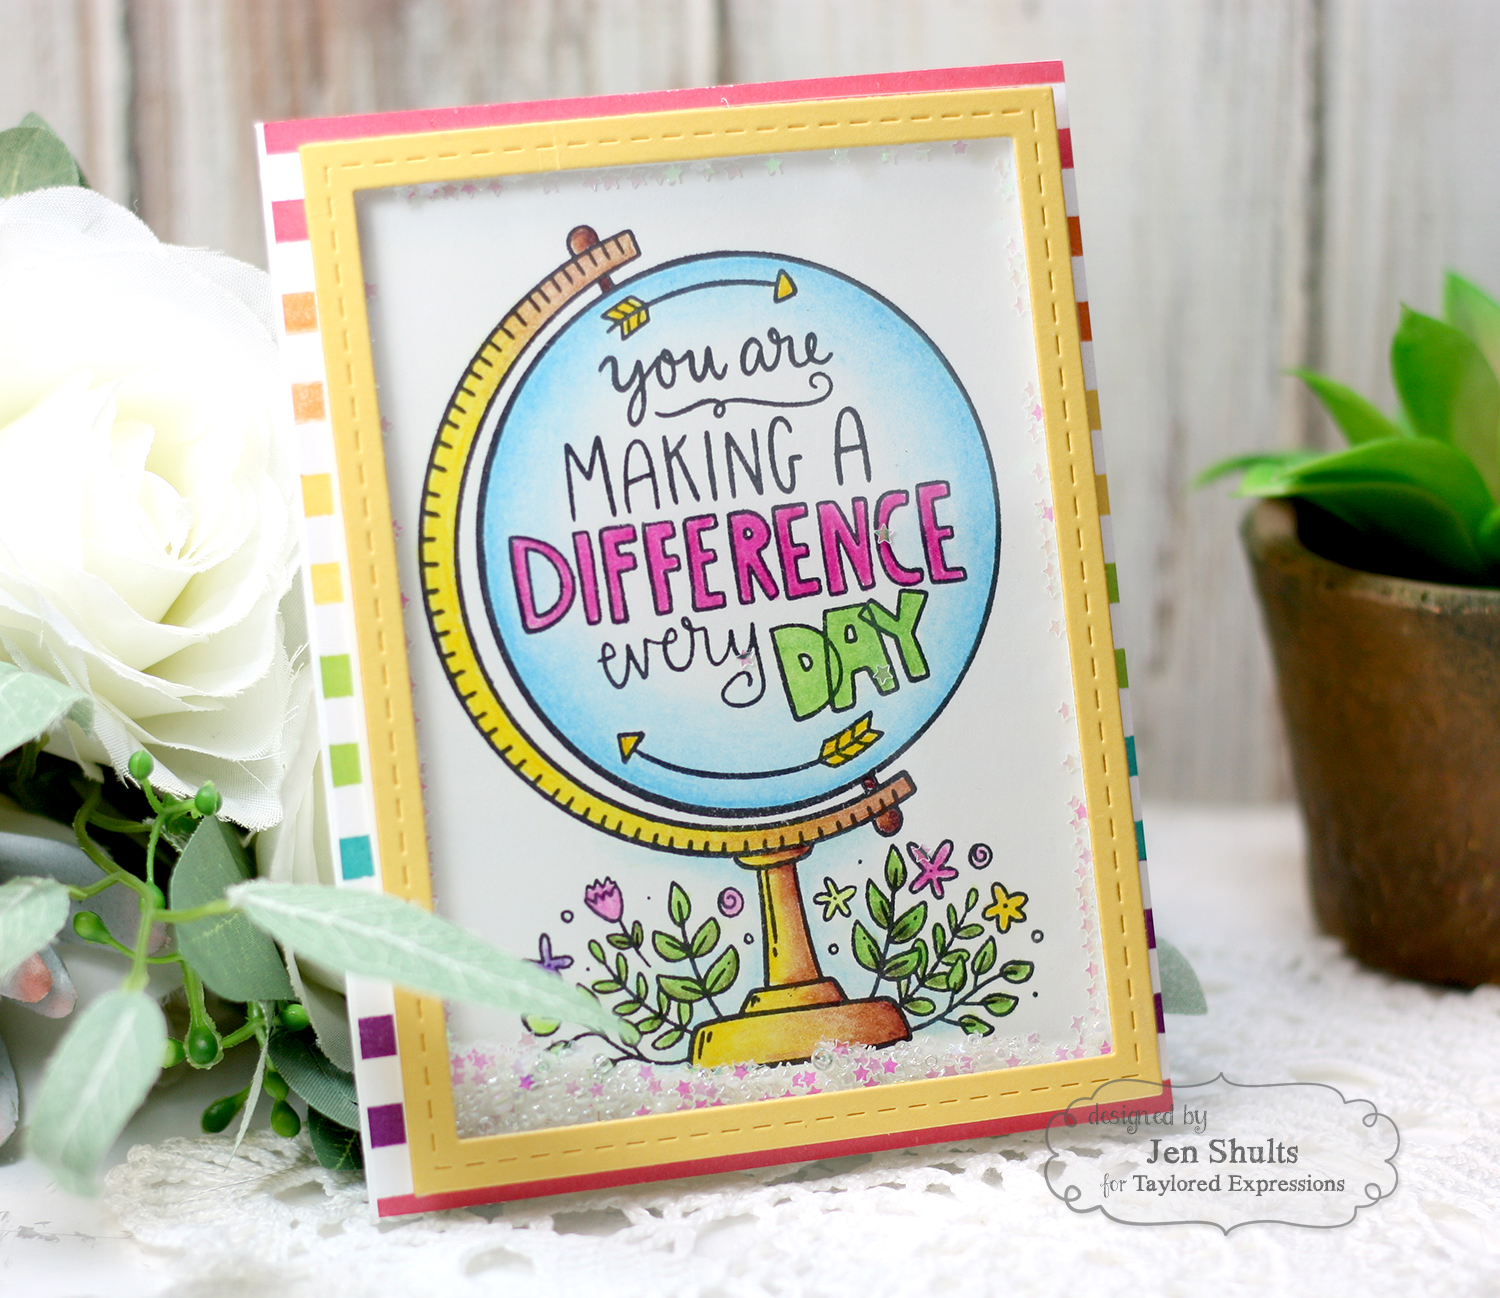
The first card I have to share today is a teacher appreciation card using Making a Difference from Taylored Expressions. I made a set of 4 of these cards to send to my teacher friends during teacher appreciation week. The transition to online learning has been and continues to be tough. It’s not the same and we miss our students and it’s easy to get discouraged. I’m hoping if even for one day this will bring a smile. 🙂

Directions for making this shaker are below:
Step 1: Stamp making a difference on Sugar Cube cardstock with Oreo ink and color with coloring medium of choice. (I used Prismacolors and Gamsol. Taylor has a great kit to get you started.)
Step 2: Stamp the Striped Background stamp on Sugar Cube inking the stripes in different colors using TE’s Mini Cubes. I used Guava, Candy Corn, Pineapple, Lime Zest, Blue Raspberry and Plum Punch.
Step 3: Die cut the Stitched Frame Stacklets from Pineapple cardstock. Cut a piece of window acetate to the size of the outside of the frame. Adhere the acetate to the back of the frame. Line the inside edge of the back of the frame with foam sticky strips. Trim the Making a Difference panel to the size of the frame (or just a tiny bit smaller). Remove the adhesive backing from 3 or the 4 sides of the foam tape and attach the making a difference panel so you can see it clearly behind the acetate. Fill the shaker with the stars and beads. Remove the final piece of backing and seal the shaker closed
Step 4. Attach the shaker piece to the background panel. Attach to an A2 cardbase.

Card Supplies:
|


The second card I made for today is a graduation card. I used Boxed In Basics Grad for the main part of my card and I used the Grad Cap die for the mortar board.
To make this card:
Step 1: Ink blend Cherry Pop ink on the top edge of the Boxed in Basics card and fade out around the top of the letters. Lightly heat set.
Step 2: Attach the Boxed in Basics card to the Scattered Stars stencil. Using a palette knife carefully apply Moonstone Glimmer Paste (or a different glitter paste) over the area that was blended with ink. Be careful not to get glimmer paste on the printed wording. Set aside to dry.
Step 3: Die cut the Grad Cap die from Oreo cardstock and the tassle from Cherry Pop cardstock. Assemble the grad cap with foam squares and glue.
Step 4: Die cut the largest Stitched Frame Stacklets die from Oreo.
To Assemble: Adhere the frame to the Boxed in Basics card when the glimmer paste is dry. Attach the grad cap to the right of the word congratulations. Attach the panel to the cardbase with foam tape.
This card would be easily reproduced and customized for different colors. These colors happen to be the colors for the University of Central Missouri, where I am currently enrolled and one week (and TWO assignments) away from competing my Master’s Program!!!!!!! This card is actually not for me though, it will be sent to a colleague who is finishing the same program I am!

Card Supplies:
|


That’s it for me today! Taylor is running a special promotion for this release, details are below!

One response to “Making a Difference”
These are fabulous Jen!