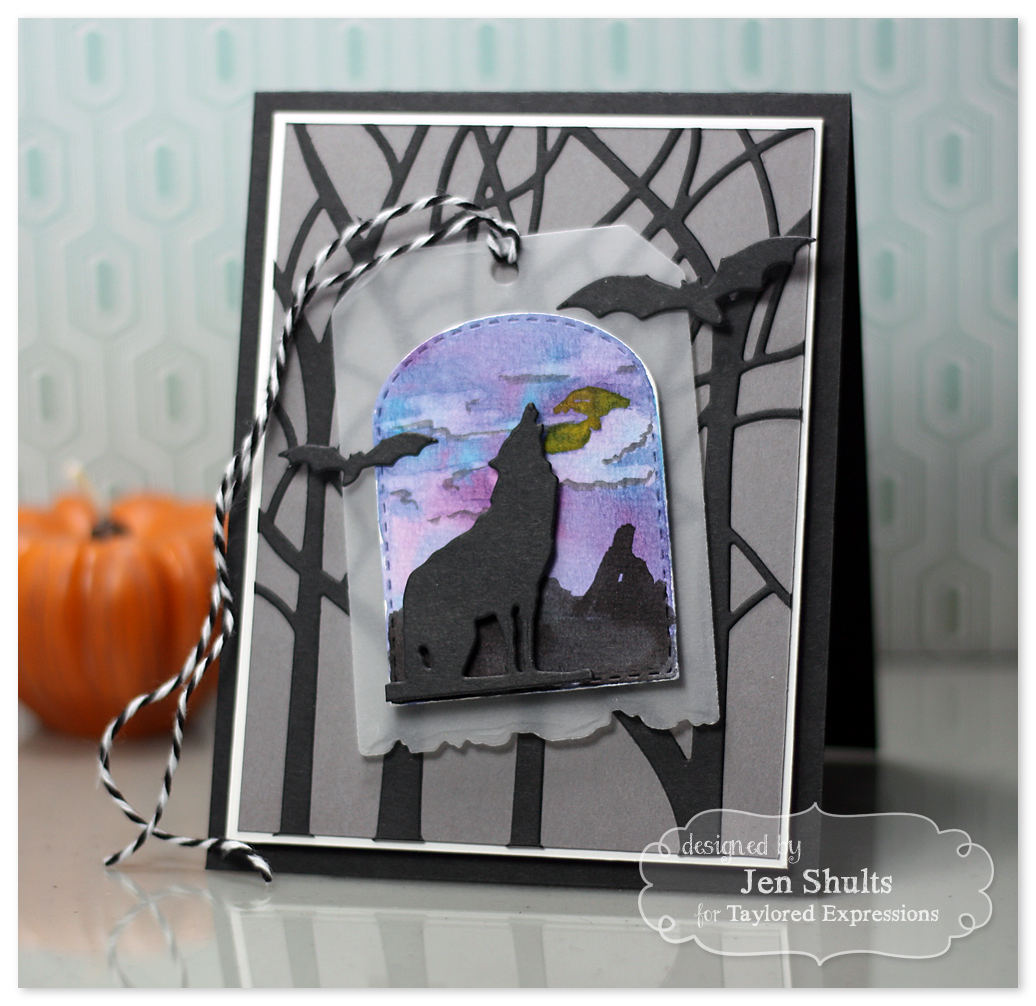

Hi everyone! Today I have a card to share today using the Spooky Trees Accessory dies from Taylored Expressions. This was a super fun card to make!!
I want to share how I made the scene behind the wolf – it was so easy and very quick. I started by die cutting my watercolor paper with the panel from Build a Tag 5. Next I coated the paper with water and used Distress Ink Refill ink to paint a night sky. After this was dry I brushed clouds on with clean water and blotted the water with a paper towel to remove the ink from those areas. I used a little diluted Black Soot ink to make shadows on the clouds and painted in the moon with Scattered Straw ink. I created the silhouette of hills with Black Soot at the bottom. This was super easy and I think it turned out wonderful.

That’s it! Thanks so much for stopping by today!
Supply List:
Paper: Oreo, Sugar Cube, Earl Grey Cardstock (Taylored Expressions), vellum (Recollections), watercolor paper (Canson 90 lb)
Inks: Dusty Concord, Black Soot, Mermaid Lagoon Distress Ink Refills
Accessories: Spooky Trees Accessories dies, Spooky Trees Cutting Plate, Build a Tag 5 dies (Taylored Expressions), baker’s twine, foam squares, Multi Medium Matte (Ranger), Quick Dry Adhesive (3M)
6 responses to “Watercoloring a Scenic Background”
Very beautiful.
Oh my.
Love that background Jen!
Gorgeous background!!! Just perfect surrounded by the black and gray!
AWESOME card! LOVE the colors you used. I’m HUGE fan of distress ink backgrounds.
I love the dimension you developed with just color! I am also a fan of Distress Inks. I love your clouds and shadows. The whole package makes a beautiful card.